This year was a movie theme and we chose Forrest Gump.


 I made a template out of cardboard and it measured 15cmx30cm. I decided to do it this way (rather than two 15cmx15cm squares) to lower the cutting needed.
 Fold the material in half (make sure the pattern is inside) and iron flat.
 This bean bag will be sewn twice which will give it extra strength. Place the sewing material on the machine with the folded side to the left. Start sewing from the opposite side to the fold about 2/3 way down.
 Make sure you reverse stitch the seam at this point to reinforce. This is important as you will be turning the bean bag inside out on this seam, so it will weaken if you forget this step.
 Sew right to the edge and leaving the needle in, turn the corners untill you get back to the side you started on.
 When you get back to the starting side sew down leaving a gap from the starting seam and also reverese sew over that seam too. Cut the thread.
 Cut the corners off the square. This will eliminate bulk when turning inside out.
 Gently turn the bean bag insideout (right side out lol).
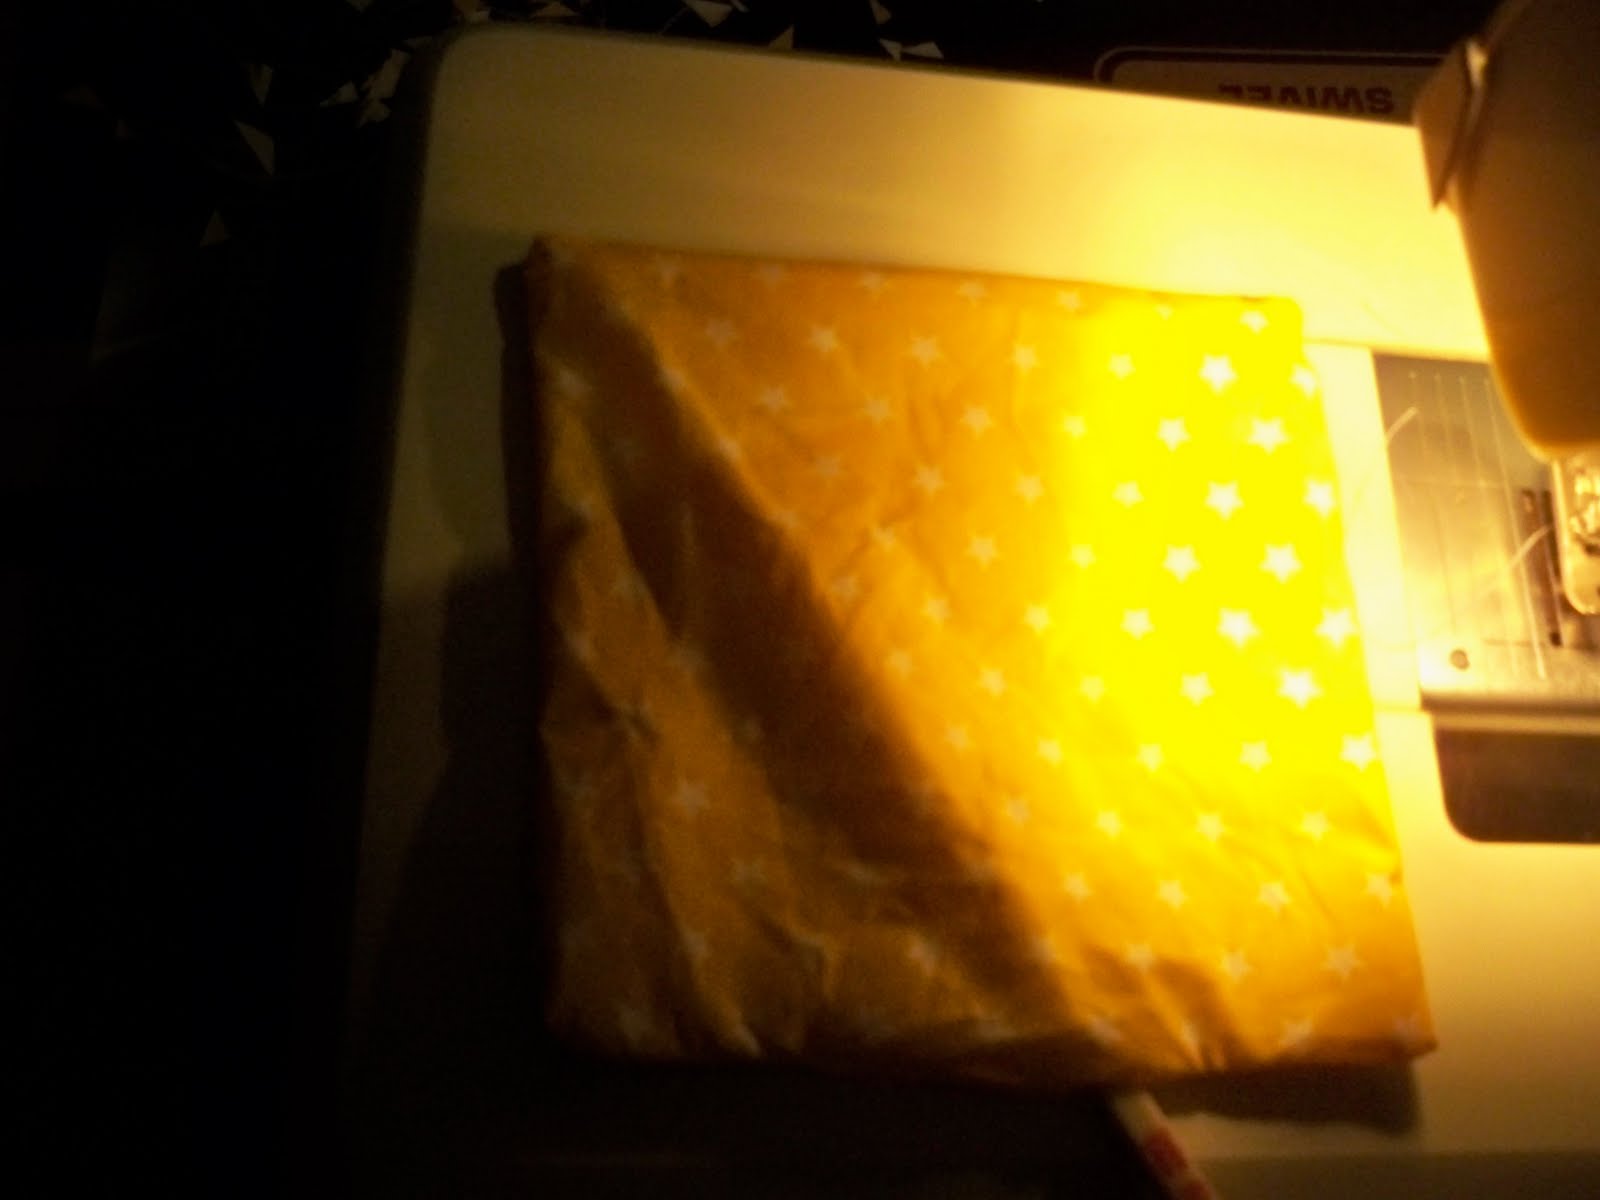 I used a chopstick to push out the corners so it is square. Then iron it flat again.
 I bundled up bean bags in to lots of 2 per kid and then tied it up with ribbon.
  I also printed off a card entitled 'Bean Bag Challenges' and pop it in the bundle giving parents and kids ideas and games to play with the bean bags.

